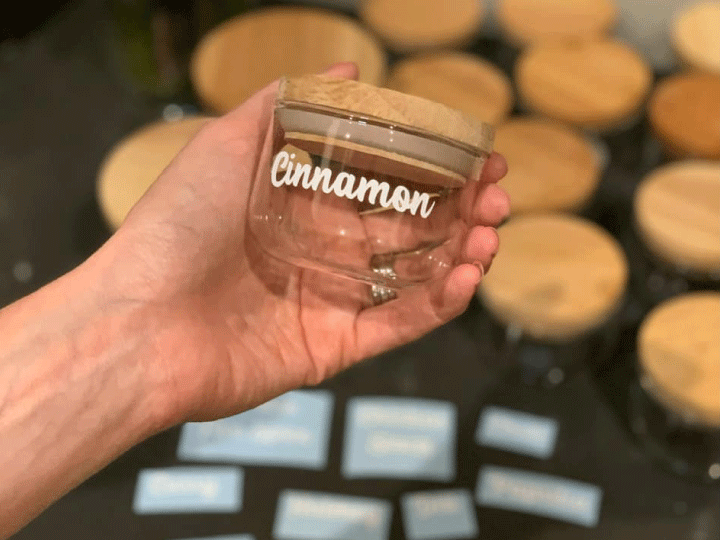
Applying your labels for the first time can be daunting, but they are very simple, once you’ve had some practice!
What you’ll Need
- Vinyl decal: Make sure it’s clean and free from dust.
- Surface: Ensure the area where you’ll apply the decal is clean and dry.
- Rubbing alcohol: For cleaning the surface.
- Paper towel or cloth: To wipe down the surface.
- Squeegee or credit card: For smoothing the decal.
- Scissors: For trimming excess vinyl or transfer tape.
Step 1: Prepare your Surface
- Clean the Area: Use rubbing alcohol and a paper towel to thoroughly clean the surface where you’ll apply the decal. This removes dirt, grease, and dust that could interfere with adhesion.
- Dry the Surface: Allow the area to dry completely before proceeding.
TIPS:
- Do not use cleaning products such as Windex or similar as they can leave a greasy residue on the surface and affect the adhesion.
- If you do not have rubbing alcohol, clean the surface / jar in warm soapy water.
Step 2: Position the Decal
- Measure and Mark: Use a ruler or measuring tape to determine the perfect placement for your decal.
- Peel the Backing: Carefully peel the backing away from the vinyl decal.
- Position the Decal: Align the decal with your desired location.
TIPS:
- Be careful when handling the decal once the transfer tape has been removed. It will be sticky and if it is accidently stuck to a surface it may not be able to be lifted and used.
Step 3: Apply the Decal
- Use the Squeegee (or your fingers): Starting from the center and working outward, use a squeegee or credit card to press the decal onto the surface. This helps eliminate air bubbles and ensures a strong bond.
- Smooth it Down: Continue to work from the center outwards, applying even pressure to the decal. Make sure all edges and corners are well adhered.
Step 4: Remove the Transfer Tape
- Peel Slowly: Slowly peel the transfer tape away from the vinyl. Do this at a 45-degree angle to avoid lifting the decal off the surface. If any part of the decal comes up, press it back down and use the squeegee again.
- Check for Bubbles: If you notice any air bubbles, gently push them towards the edges with the squeegee or your fingers. For stubborn bubbles, you can carefully pierce them with a pin and smooth them out or just leave them and they will generally disappear on their own after a short time.
Step 5: Care
- Washing: Your labels will be waterproof, however not dishwasher proof. Therefore we recommend handwashing only.
Tips:
- Practice First: If you’re new to vinyl decals, consider practicing on a scrap piece of material before applying it to your final surface. Let us know in the Notes section if you would like a test label and we would be more than happy to supply one.
- Temperature Matters: Apply decals in a temperature-controlled environment. Extreme heat or cold can affect adhesion.
- Choose the Right Surface: Vinyl decals adhere best to smooth, non-porous surfaces. Avoid applying them to textured or porous materials.


0 Comments